

Manage your media library
Manage your media library
The media library is a central place to upload and organize files across your organization. Images, videos, documents, and audio you add here can be reused in lessons, feed posts, program spaces, and anywhere else that supports media.
Open the media library
Open Admin Area > Content Management > Media Library from the sidebar.
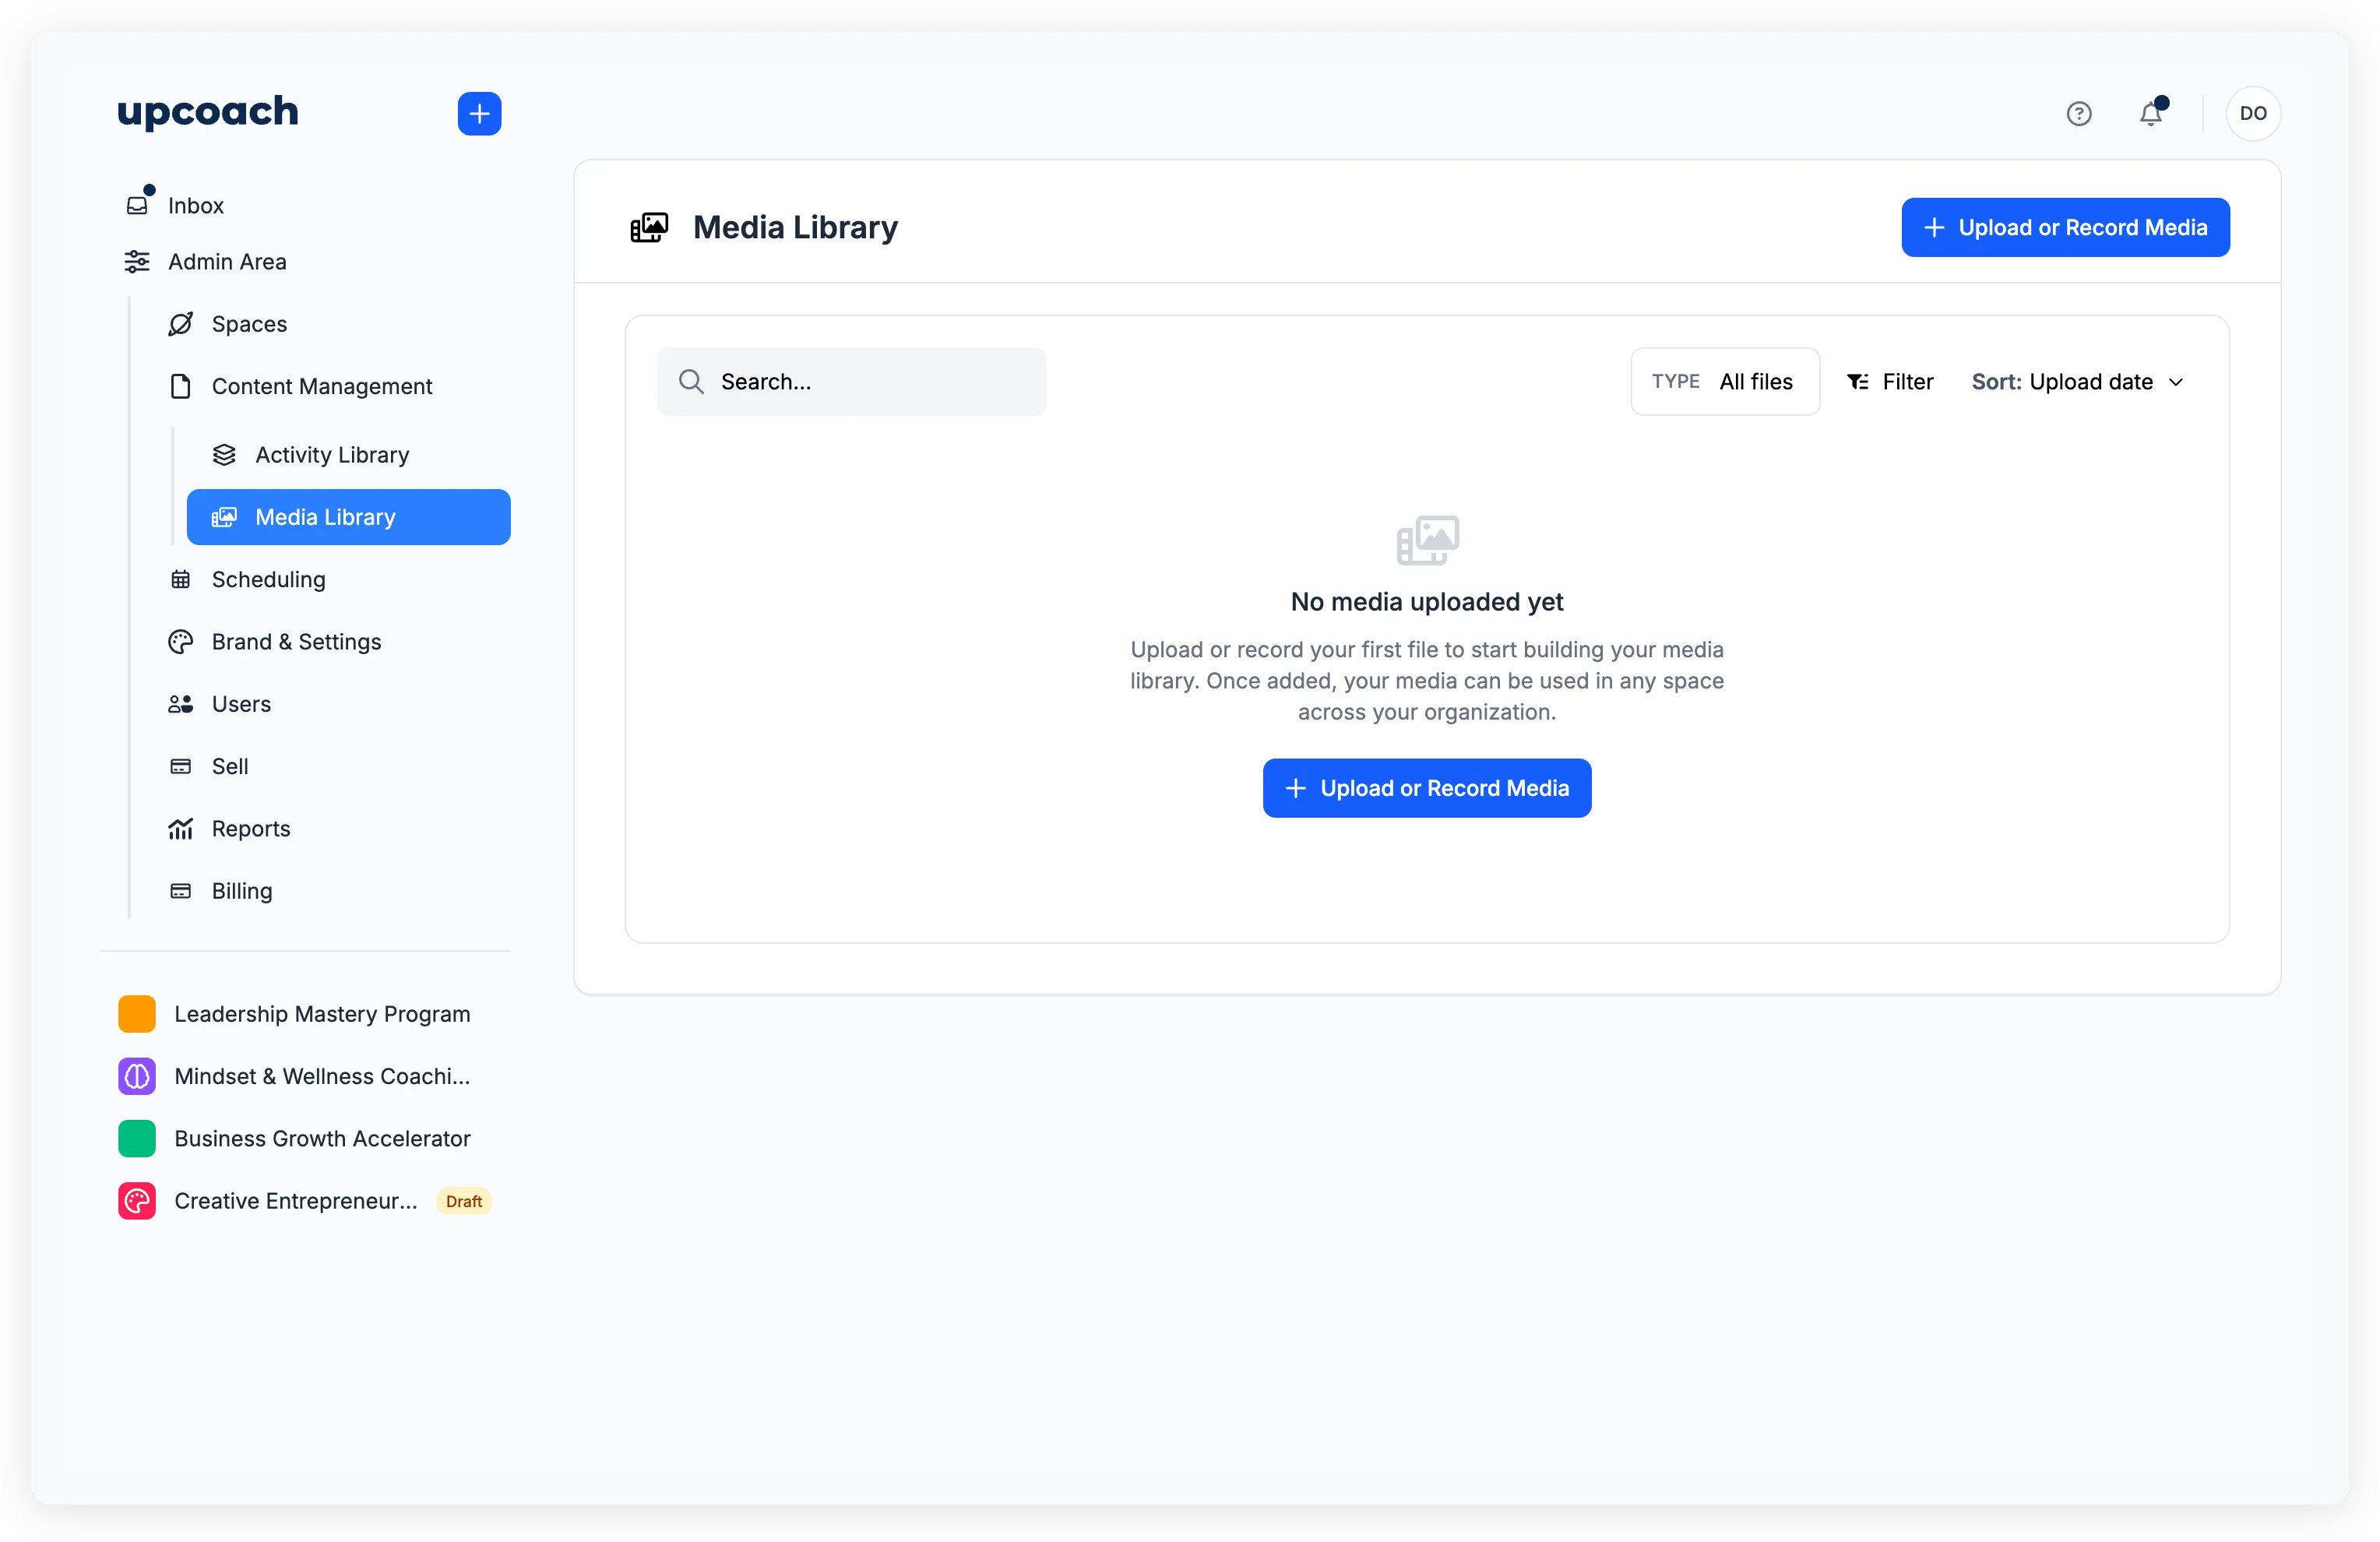
The main page shows uploaded files in a table with columns for File Name, File Type, Usage, File Size, Added date, and Added By.
What you see depends on your role
- Owners, Admins, and Implementation Admins see every file uploaded to the organization.
- Program Admins and Facilitators see only the files they uploaded themselves.
- Participants and Sponsors don’t have access to the Media Library at all.
If you’re missing a file you remember uploading, check that you’re signed in with the same account that uploaded it.
Upload files
Click Upload or Record Media to open the upload window.
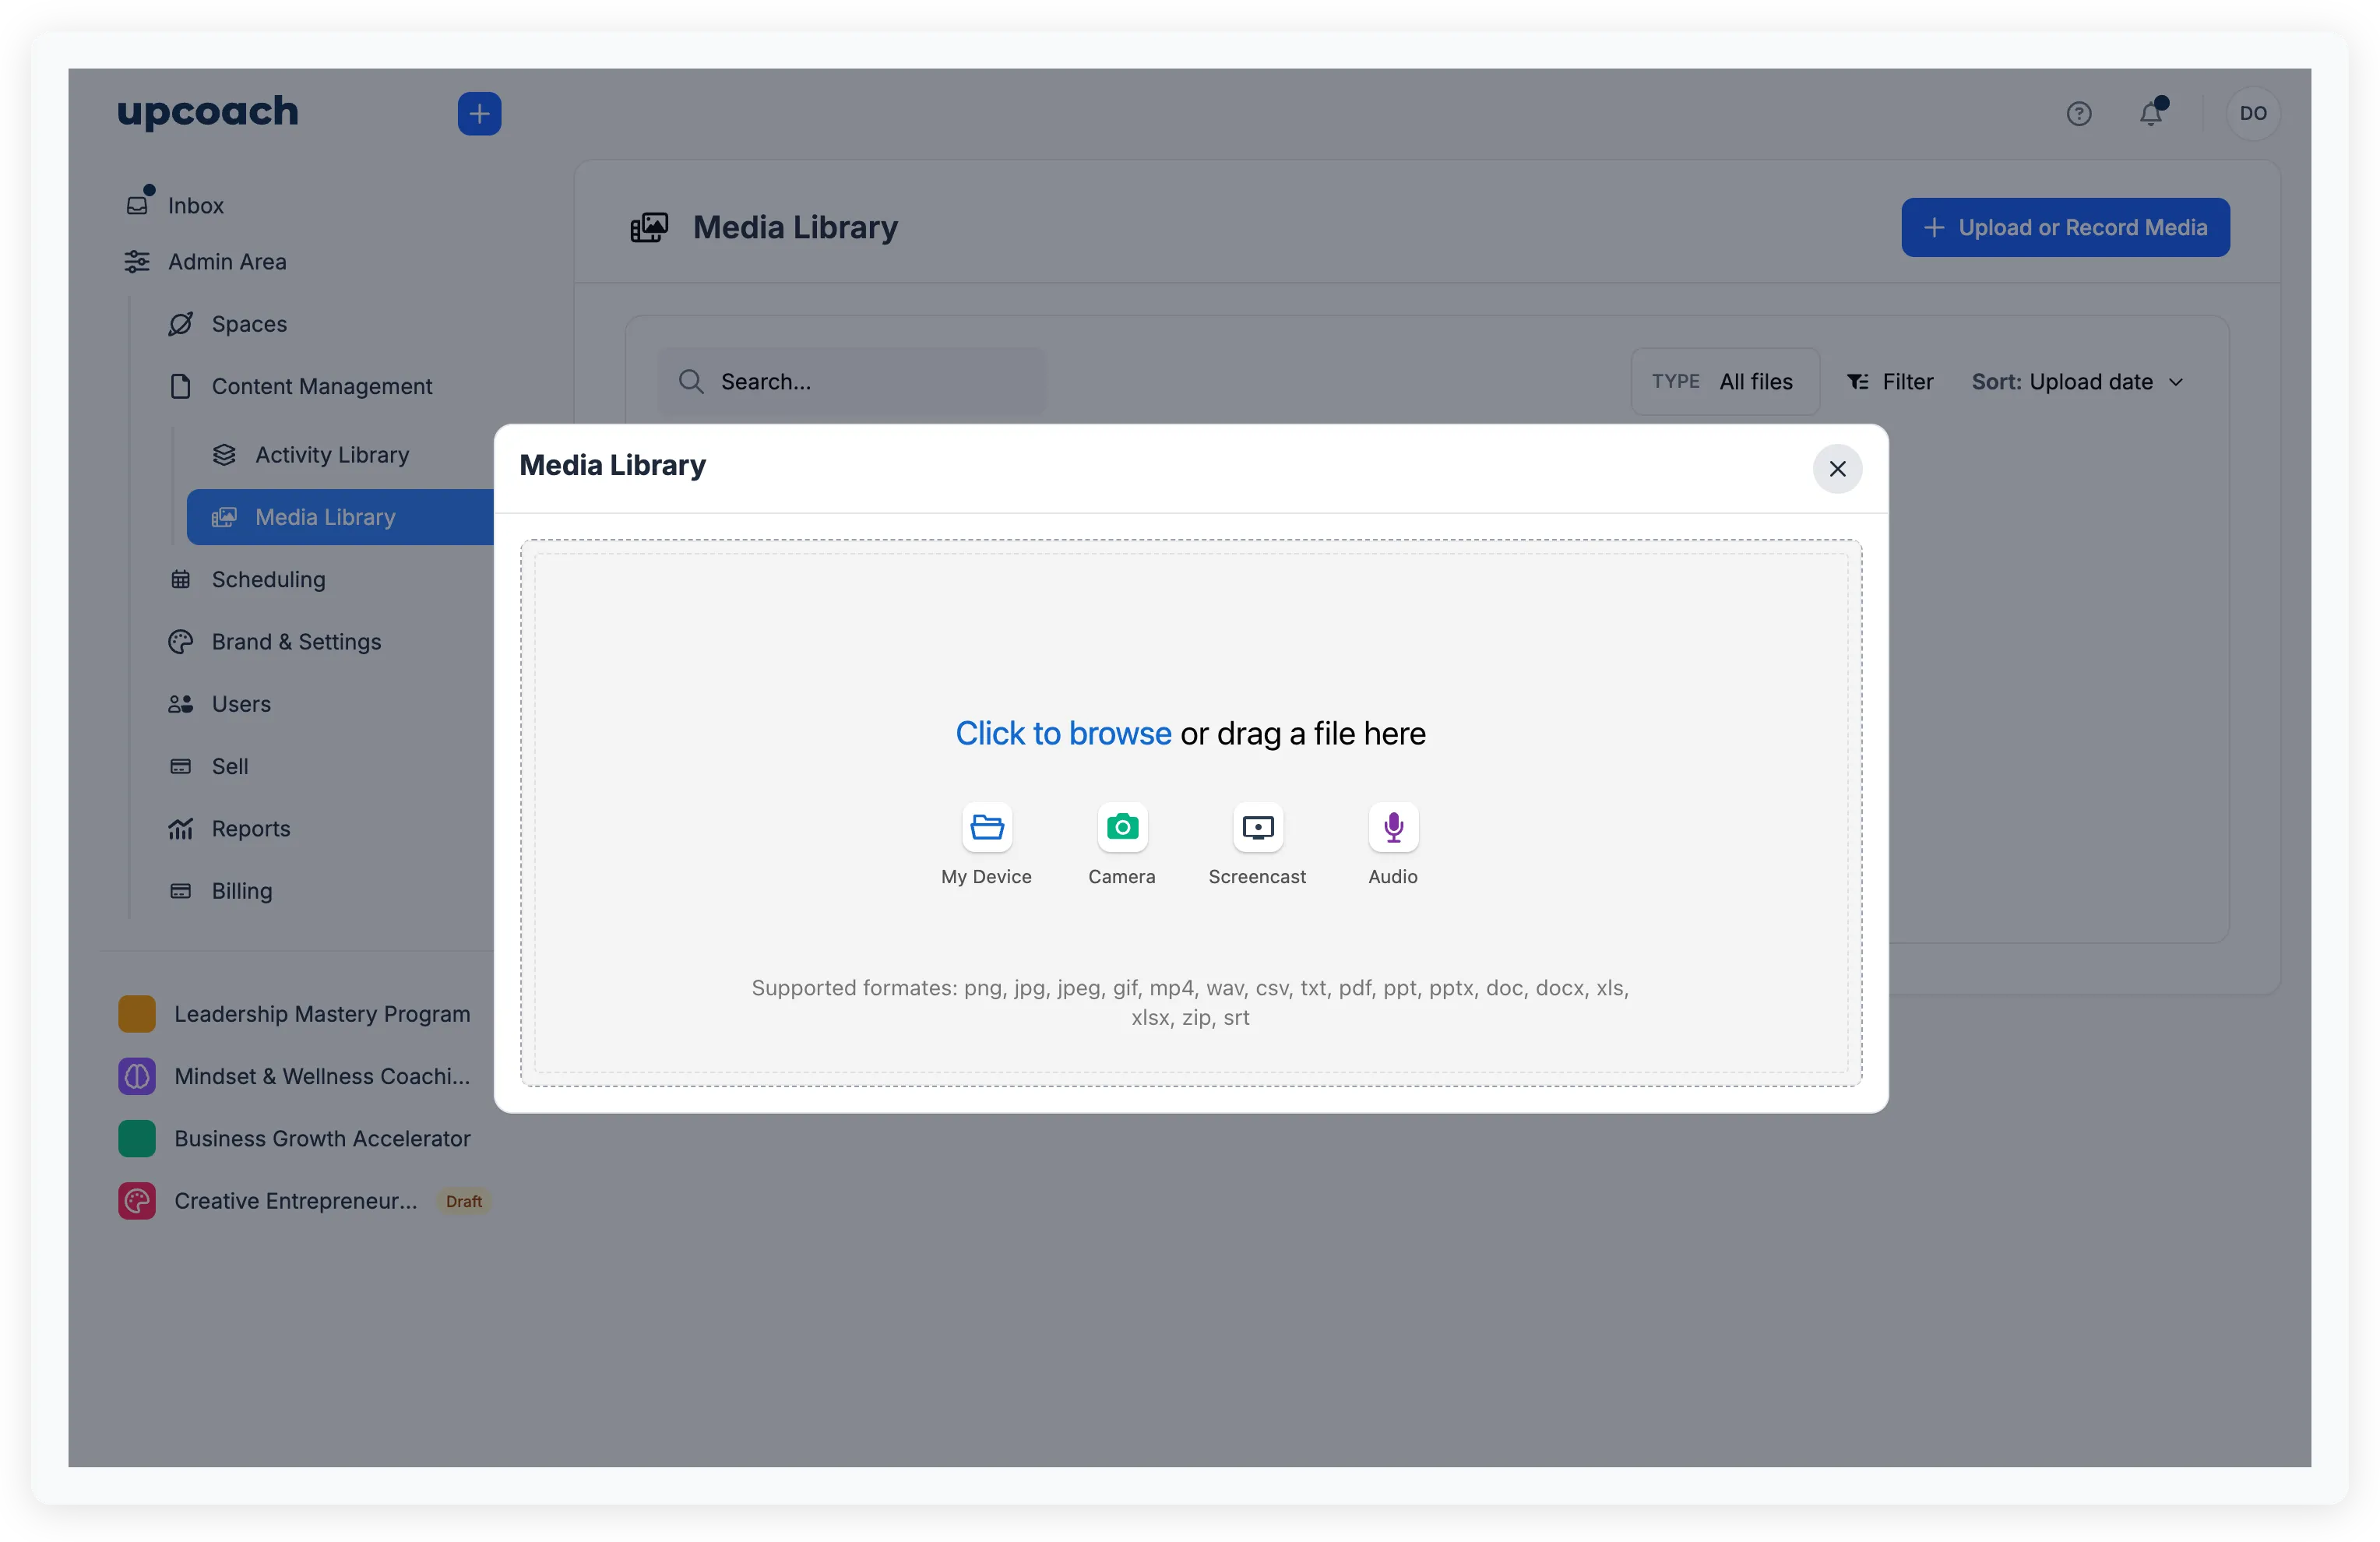
You can:
- My Device — Browse your files or drag and drop
- Camera — Capture a photo or video from your webcam
- Screencast — Record your screen
- Audio — Record an audio clip
You can upload up to 10 files at a time. Supported formats:
| Type | Formats |
|---|---|
| Images | png, jpg, jpeg, gif, webp |
| Videos | mp4, webm, quicktime |
| Audio | wav, mp3, ogg, webm |
| Documents | pdf, ppt, pptx, doc, docx, xls, xlsx, csv, txt |
| Other | zip, srt |
For images, a built-in editor lets you crop before uploading (except for GIFs).
Upgraded plan required — Video upload may not be available on all plans.
All uploads — including videos — count toward your plan’s storage limit. When you’re close to the limit, a warning appears during upload. If the limit is reached, new uploads are blocked until you free up space by deleting unused files. Check your current storage usage on the Billing page.
Find files
Use the filters above the table to locate specific files:
- Search — Filter by file name
- Type — Show only Images, Videos, Audio, Documents, or Other
- Added by — Filter by the person who uploaded the file
- Sort — Order by Upload date or Size
When no files match your filters, the page shows “No media found” with a suggestion to adjust your search.
Rename a file
- Click the action menu (three dots) on any file row.
- Select Rename.
- Enter the new name and click Save.
Download a file
Click the action menu on a file row and select Download.
Delete a file
- Click the action menu on a file row and select Delete.
- Confirm by clicking Yes, delete.
If the file is still used in a program space or activity, you’ll see “This file is still in use!” instead. Remove the file from all spaces and activities first, then delete it.
The Usage column shows how many spaces reference each file — check this before deleting.
Use media across your programs
Files in the media library are available everywhere media is supported:
- Lessons and activities — Insert images and videos using the
/imageand/videoslash commands in the editor - Feed posts — Add cover media or inline images when creating posts
- Program spaces — Set cover images and welcome screen media
- Events — Attach recordings to past events
- Checkout pages — Add testimonial images and media galleries
You can also embed videos from YouTube, Vimeo, and Loom using the embed option — no upload needed.