


How to Build a Lead-Generating Coaching Website in 30 Days: A Step-by-Step Guide
Contents
As a coach, your website is often the first point of contact between you and potential clients. A well-designed, lead-generating website can be the cornerstone of your online presence, helping you attract and convert prospects into paying clients.
In this comprehensive guide, we’ll walk you through the process of creating a lead-generating coaching website in just 30 days, complete with specific tools, tips, and strategies to maximize your success.
Week 1: Foundation and Setup
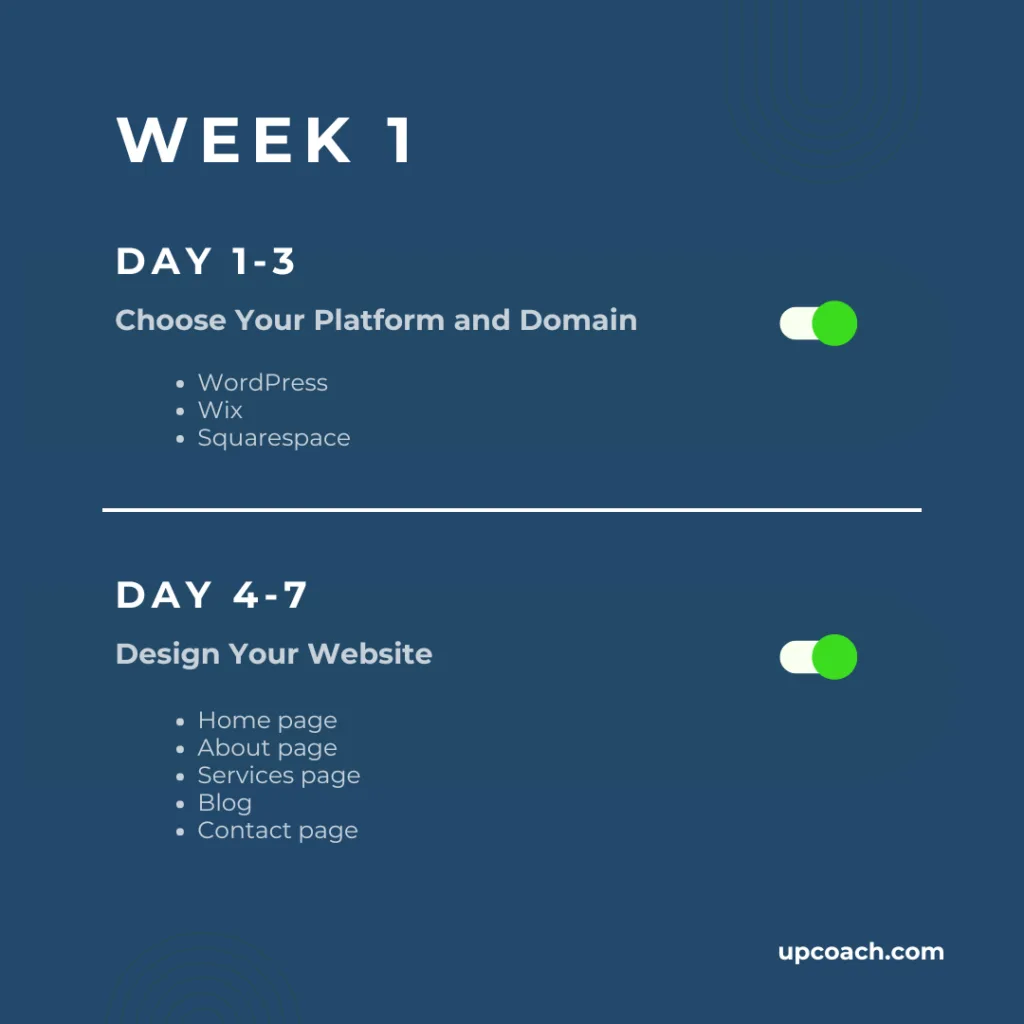
Day 1-3: Choose Your Platform and Domain
The first step in creating your coaching website is selecting the right platform. Consider these options:
- WordPress: A versatile and widely-used content management system.
- Wix: User-friendly website builder with drag-and-drop functionality.
- Squarespace: Known for sleek, professional designs.
Once you’ve chosen your platform, secure a domain name that reflects your coaching brand. Aim for something memorable and easy to spell. Most coaches keep it simple and use their names.
Day 4-7: Design Your Website
With your platform and domain in place, it’s time to design your website. Focus on creating a clean, professional look that aligns with your brand. Key elements to include:
- Home page: Clearly communicate your value proposition.
- About page: Share your story and credentials.
- Services page: Outline your coaching offerings.
- Blog: Showcase your expertise through valuable content.
- Contact page: Make it easy for potential clients to reach you. Tip: Use tools like Canva or Adobe Spark to create professional-looking graphics and images for your site.
Week 2: Content Creation and SEO Optimization
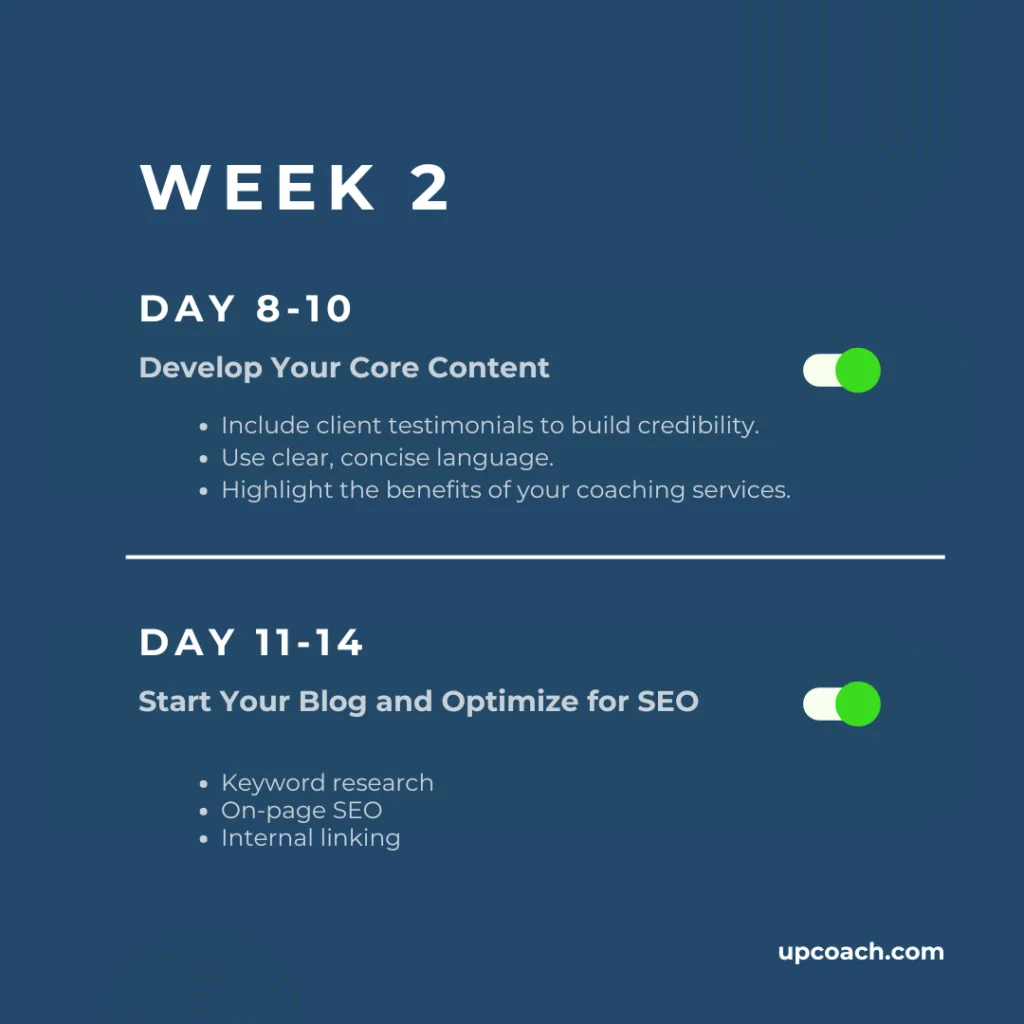
Day 8-10: Develop Your Core Content
Create compelling content for each page of your website. Remember to:
- Include client testimonials to build credibility.
- Use clear, concise language.
- Highlight the benefits of your coaching services.
Day 11-14: Start Your Blog and Optimize for SEO
Launch your blog with 3-5 high-quality posts that demonstrate your expertise. Use tools like Yoast SEO (for WordPress) or Moz to optimize your content for search engines. Focus on:
- Keyword research: Use tools like Google Keyword Planner or Ubersuggest to find relevant keywords.
- On-page SEO: Optimize your titles, meta descriptions, and headers.
- Internal linking: Connect your blog posts to relevant pages on your site.
Week 3: Lead Generation Setup
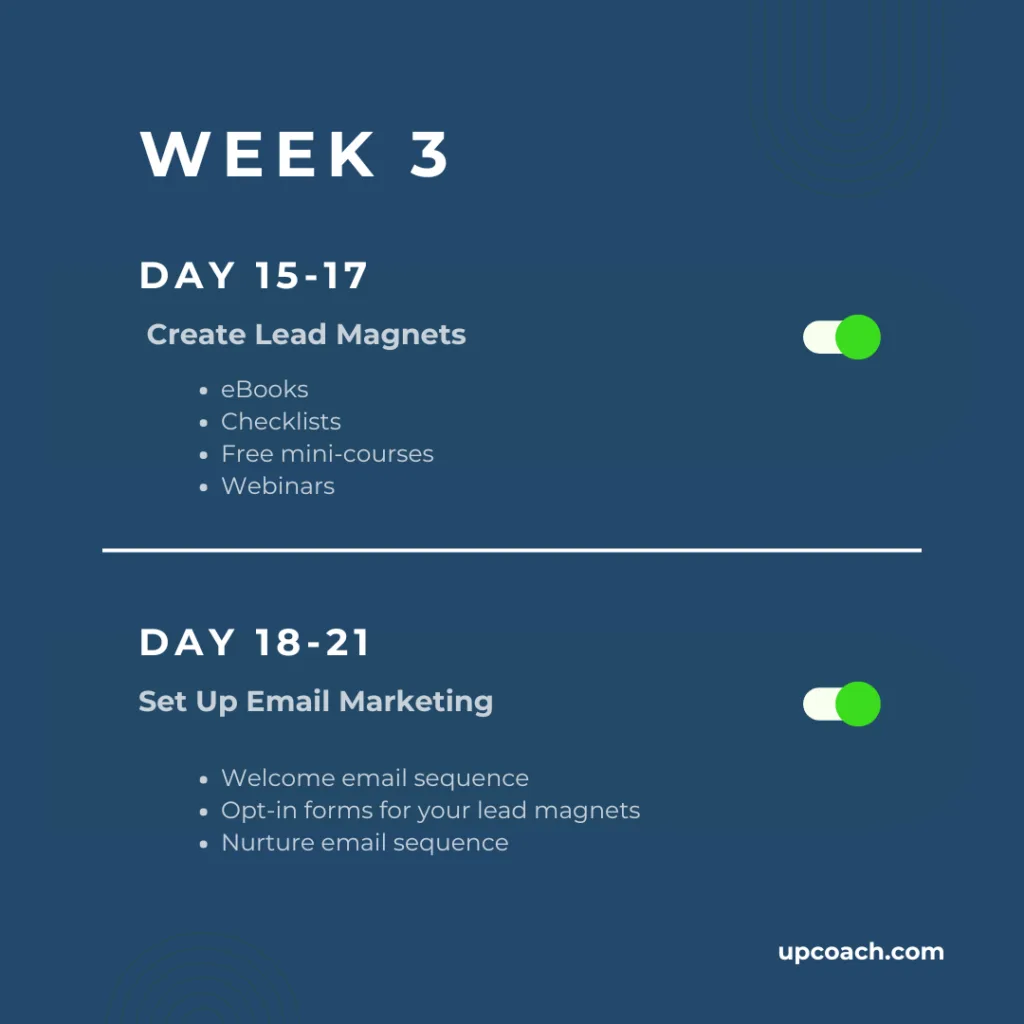
Day 15-17: Create Lead Magnets
Develop valuable lead magnets to attract potential clients:
- eBooks
- Checklists
- Free mini-courses
- Webinars
Use tools like Canva or Google Docs to create professional-looking lead magnets.
For more ideas, check out our resource: 10 evergreen lead magnets for coaches to drive program signups
Day 18-21: Set Up Email Marketing
Choose an email marketing platform like Mailchimp, or ActiveCampaign to manage your leads. Create:
- Welcome email sequence
- Opt-in forms for your lead magnets
- Nurture email sequence
Week 4: Conversion Optimization and Launch
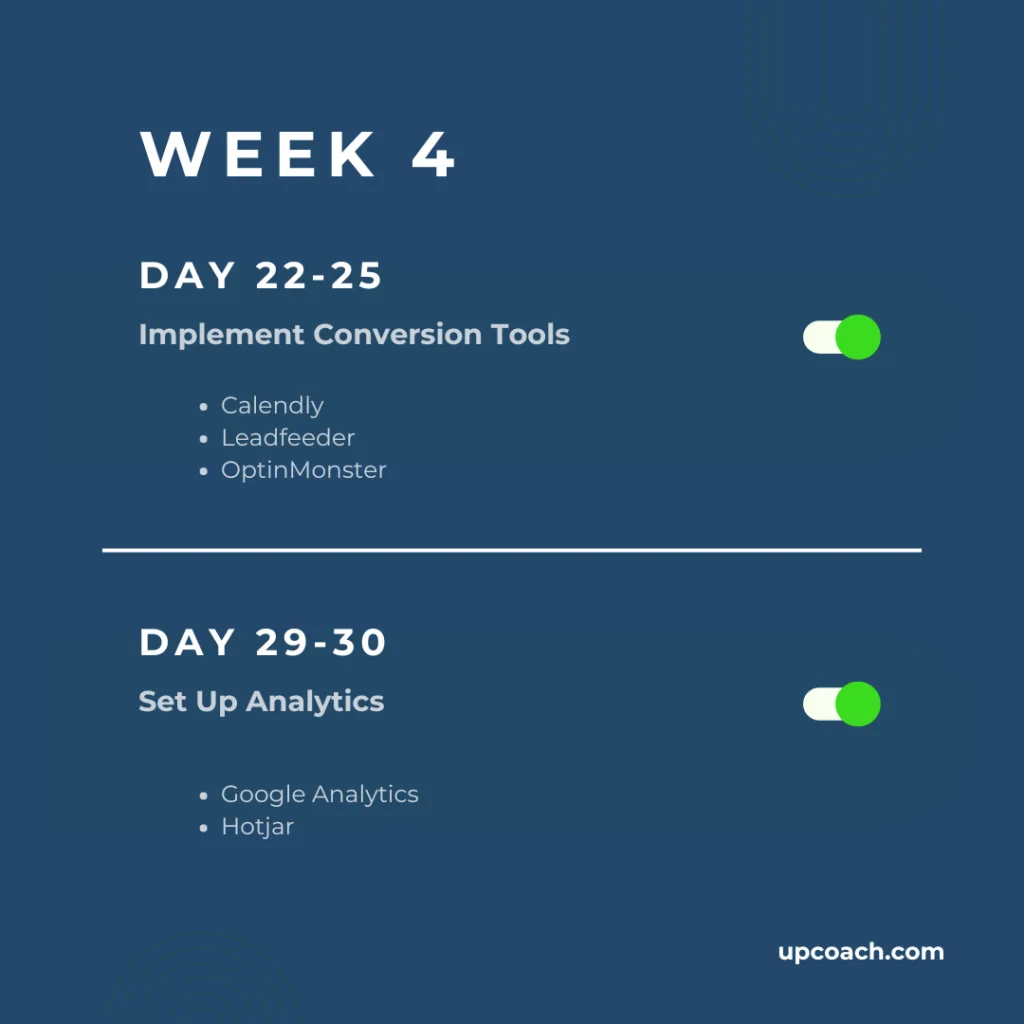
Day 22-25: Implement Conversion Tools
The real magic happens when you take your new coaching website up a notch and implement additional marketing tools to capture and convert leads. Here are a few great options to consider:
- Calendly: Allow prospects to book discovery calls directly.
- Leadfeeder: Track website visitors and their behavior.
- OptinMonster: Create pop-ups and lead capture forms.
Day 26-28: Set Up Analytics
Install Google Analytics and set up goal tracking to measure your website’s performance. Consider using heatmap tools like Hotjar to understand user behavior on your site.
Day 29-30: Final Review and Launch
Conduct a thorough review of your website:
- Test all links and forms.
- Proofread your content.
- Ensure mobile responsiveness.
- Check loading speeds using tools like GTmetrix.
Once everything is in order, it’s time to launch your lead-generating coaching website!
Post-Launch: Continuous Improvement
Remember, launching your website is just the beginning. Continuously monitor your analytics, gather feedback, and make improvements. Consider these ongoing strategies:
- Regular content updates: Keep your blog fresh with new posts.
- A/B testing: Experiment with different headlines, CTAs, and layouts.
- Social media integration: Share your content and engage with your audience on platforms like LinkedIn and Twitter.
By following this 30-day plan and leveraging the right tools and strategies, you’ll be well on your way to creating a powerful lead-generating coaching website. Remember, the key to success is consistency and continuous improvement. Keep refining your approach based on data and feedback, and you’ll see your online coaching presence grow over time.
Ready to take your coaching business to the next level? Explore how upcoach can help you manage your clients, automate your processes, and scale your business. Learn more about upcoach and get started today!

Mert is the co-founder of upcoach, a software developer and entrepreneur with over 25 years of experience building things on the web.